Why this matters (and where it’s used)
Police clearance is typically required for visa/residency and sometimes for hospital onboarding. If the certificate is expired, untranslated, or scanned poorly, your residency, bank, tenancy and start date drift. A clean certificate—legalised → then translated → one colour PDF—keeps onboarding quiet.
Validity windows (signals, not promises)
Acceptance windows commonly range 90–180 days from issue.
Work visa pathways may apply stricter recency than licensing portals.
Safest approach: request within T-60 to T-90 of your intended visa submission.
The clean sequence (copy/paste)
Confirm the issuer in your country (national police/regional authority). Order in your passport-exact name (all middle names).
Receive the certificate (digital/verifiable preferred). Save the receipt and note the issue date.
Legalise, then translate
Hague countries → Apostille.
Non-Hague or destination-specific → consular legalisation (foreign ministry → destination embassy).
After legalisation, complete sworn translation (English/Arabic as required).
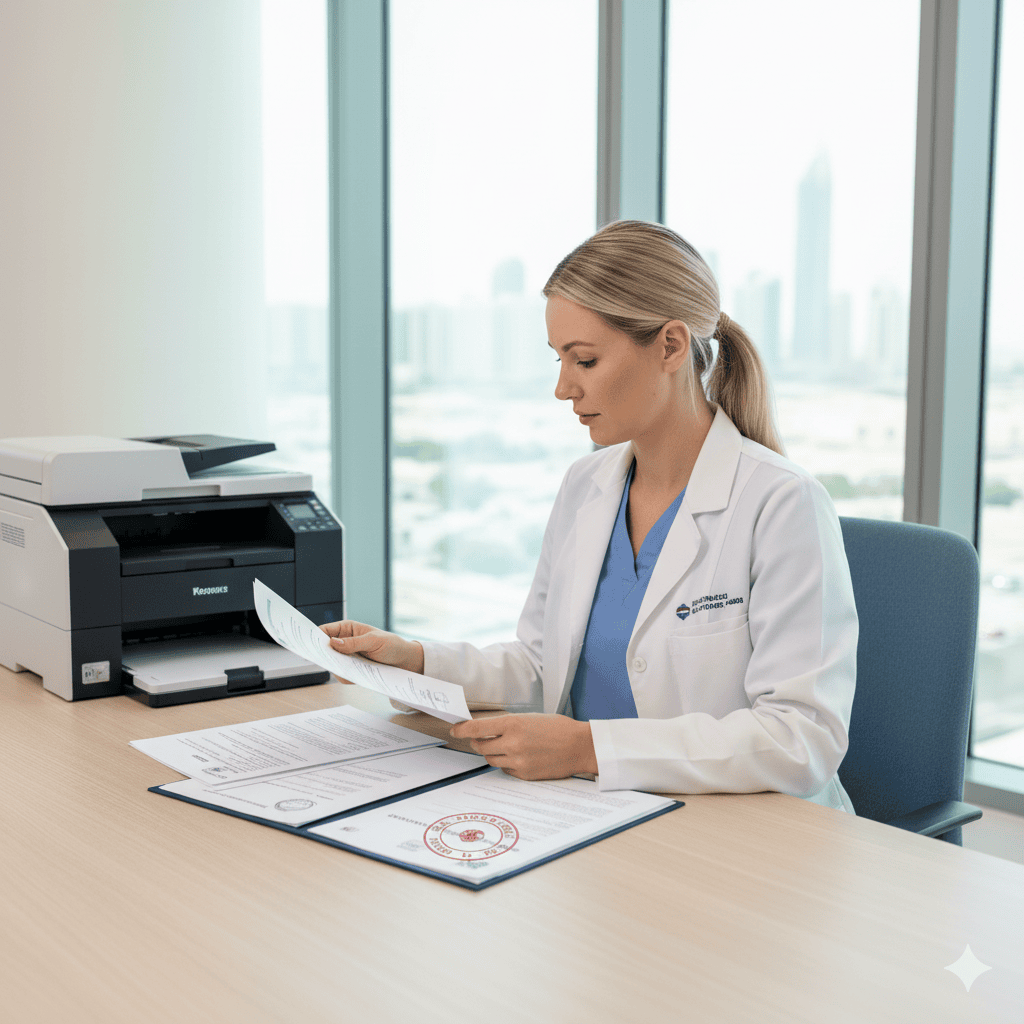
Build one colour PDF (300–400 dpi): Original → Legalisation/Apostille → Sworn translation.
Filename:
Surname_Name_PoliceClearance_[Country]_YYYYMM.pdf.
Upload to the right bucket
DataFlow/PSV (if requested) under Security/Police.
Visa/regulator portal per step.
Keep the same file for credentialing if your hospital asks.
Diary a refresh date at T-45 in case processing stretches.
Country path (plain-English examples)
UK/IE/EU (Hague): order national police certificate → Apostille → sworn translation.
US/Canada (Hague): national/federal or state/provincial certificate per pathway → Apostille (or authentication chain) → translation.
Australia/New Zealand (Hague): national police check → Apostille → translation.
If your document is non-Hague: foreign ministry authentication → UAE/KSA/Qatar embassy legalisation → translation.
(Always follow your home authority’s live instructions and your destination’s portal guidance.)
Evidence pack that moves fast
Police clearance (as one colour PDF).
Passport page (colour).
If names differ anywhere (maiden/prior): linking document (marriage/change-of-name deed) appended at the end of the same PDF.
Short cover note in the portal: “Police clearance issued on [DD/MM/YYYY]; Apostille/consular legalisation attached; sworn translation included.”
Name hygiene (fix once, reuse forever)
Update police authority and portals to your passport-exact name.
Use the same email/phone across all submissions.
Where prior names exist, include one line: “Former surname linked via attached [document].”
Common pitfalls—and calm fixes
Translating before legalising → redo translation after Apostille/legalisation.
Low-resolution scans → rescan 300–400 dpi colour; seals/QRs readable at 100% zoom.
Wrong bucket → move to Security/Police (or visa doc section) and leave a clear reviewer note.
Expired by appointment → reorder immediately; upload both versions with a short explanation of timeline.
Copy-paste checklists
Before you request
Passport-exact name on the police authority profile
Confirm Hague vs consular route
Request verifiable digital version if offered
Assembly day
Apostille/consular legalisation completed
Sworn translation completed after legalisation
One colour PDF built; filename clean; seals readable
Upload & follow-up
Correct portal bucket selected
Receipt/acknowledgment saved
T-45 refresh reminder set in calendar